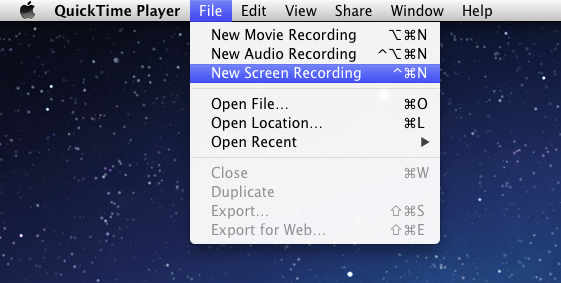
Here is a quick tutorial about recording your screen on your Mac. There are various uses for recording your screen such as for a video tutorial yourself, a project, etc. Follow the steps below to get started:
Step 1) Open QuickTime Player on your Mac (Applications > QuickTime Player).
Step 2) Click on File > New Screen Recording (or alternatively press CMD-Control-N).

Step 3) Press the gray button (with the red in the middle) to begin recording your screen. You can select many options by pressing the gray triangle on the right side of the screen.
Step 4) To stop the recording, simply press on the grey button (now with a black square in the middle) and your recording will instantly open for your viewing. The capture that you just recorded will be placed in your Movies folder at ~/Movies
Step 5) You can edit the video using Mac OS X’s built in iMovie or other movie editing software that you choose!
If you have any questions about this process, please post in the comments below!
